Yターボ 続き
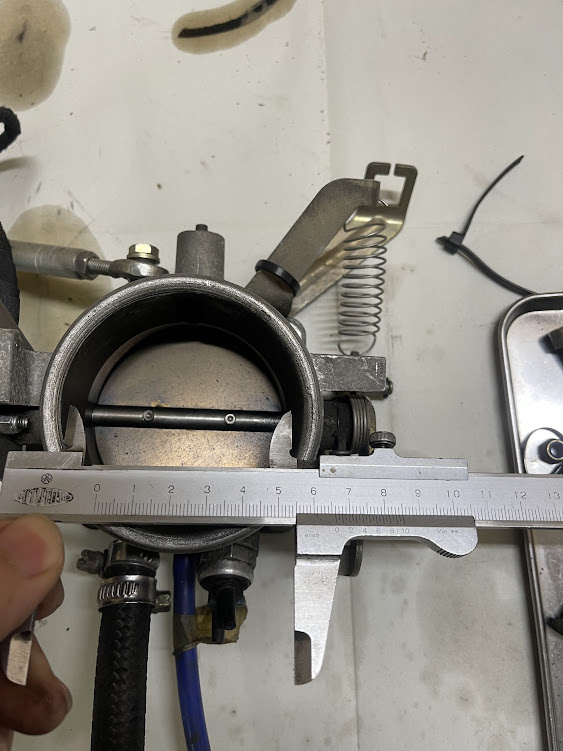
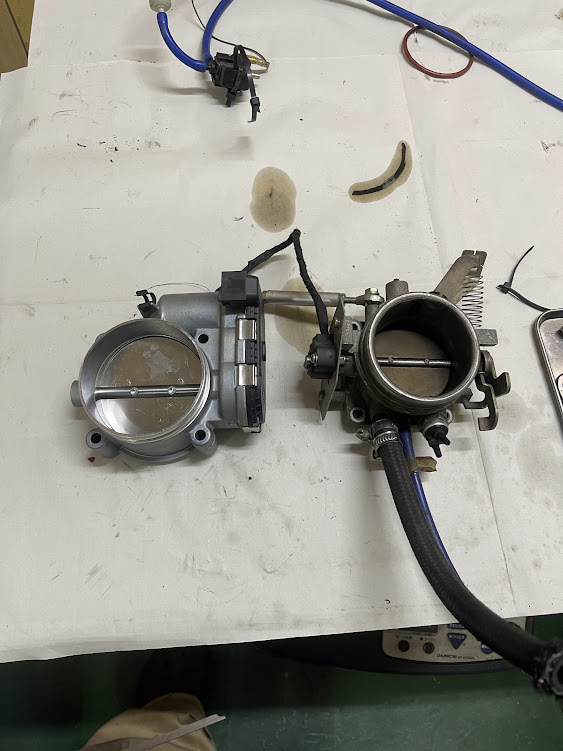
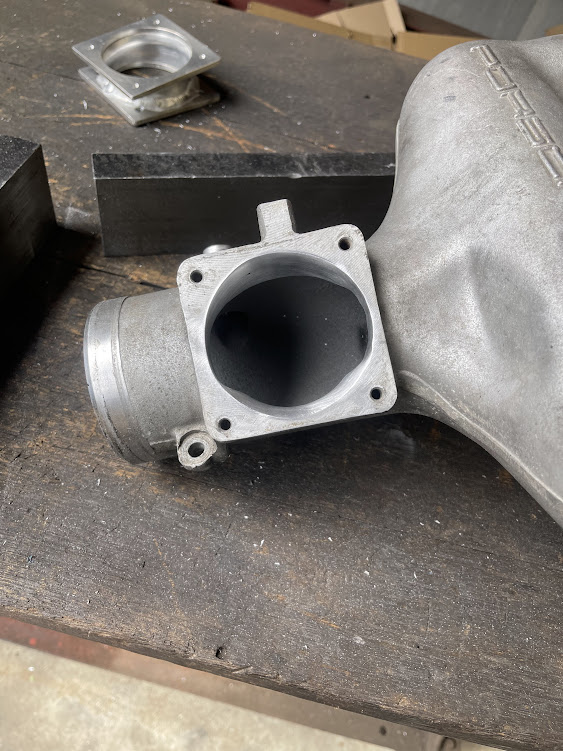
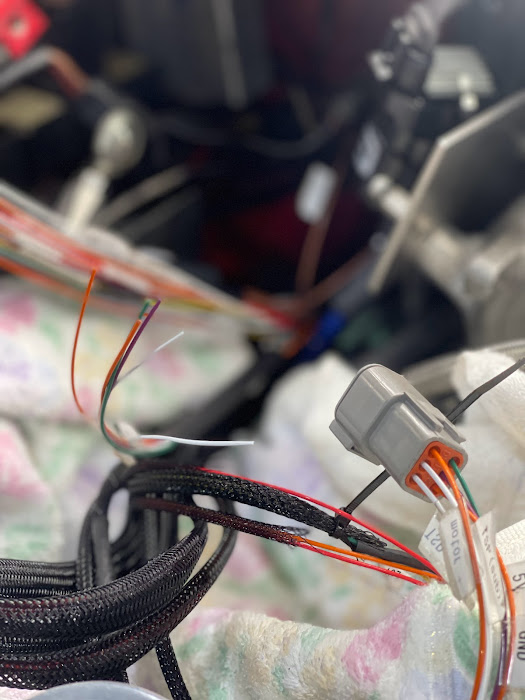
問題の電スロペダル。
通常の車と違いこの車両は、ツインマスター
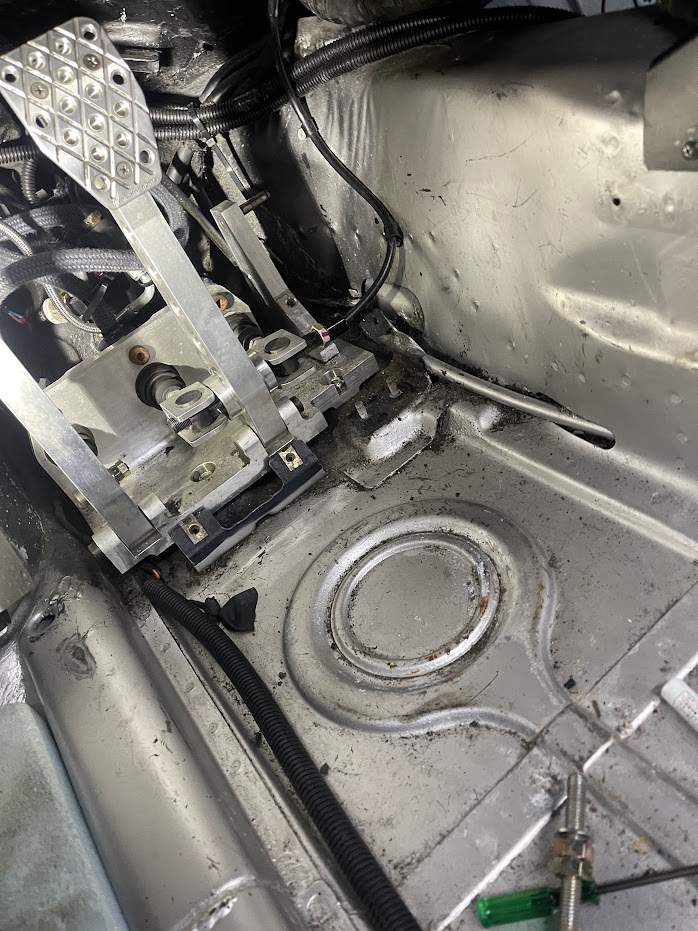
いつもと取り付け方法が異なります。
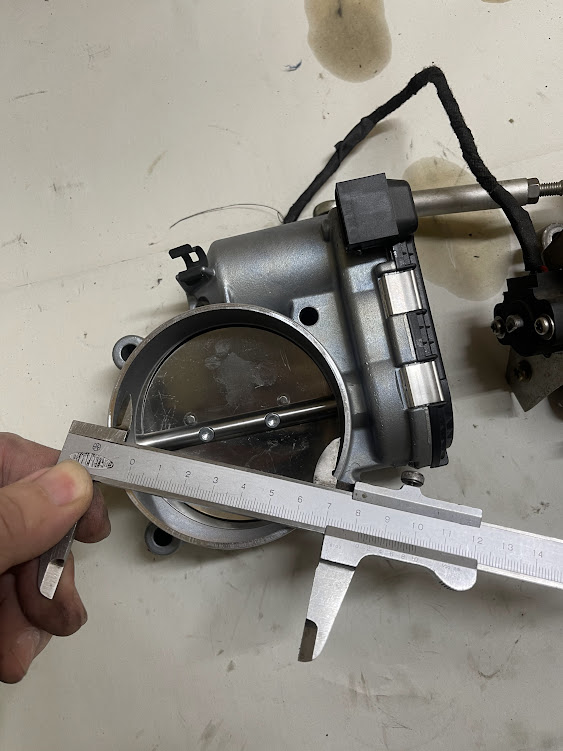
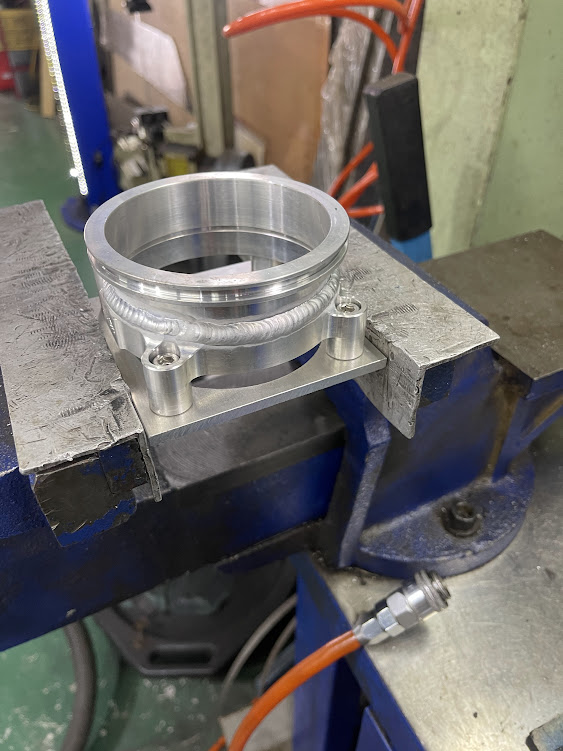
土台となるプレートを作って何とか取り付け完了。
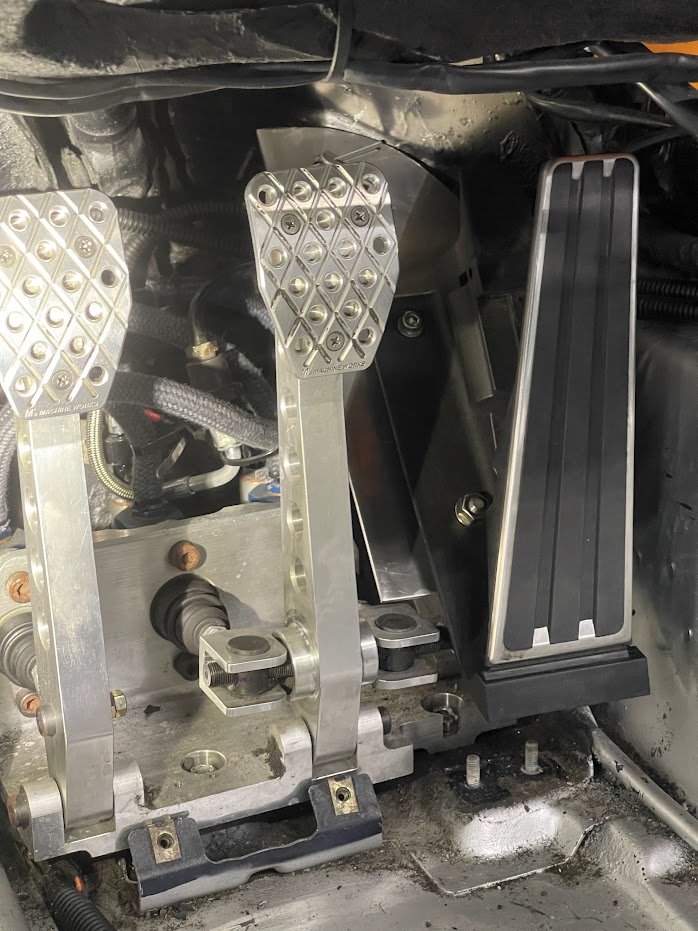
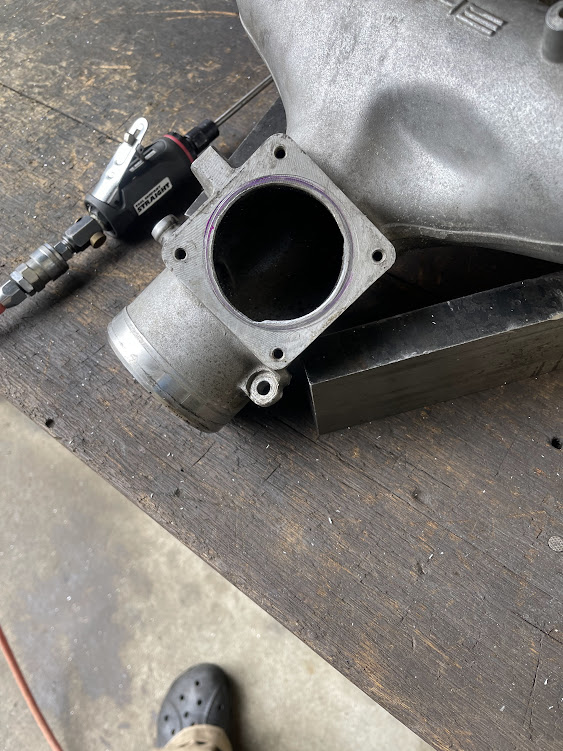
これでOK 電子スロットルを使用できます。
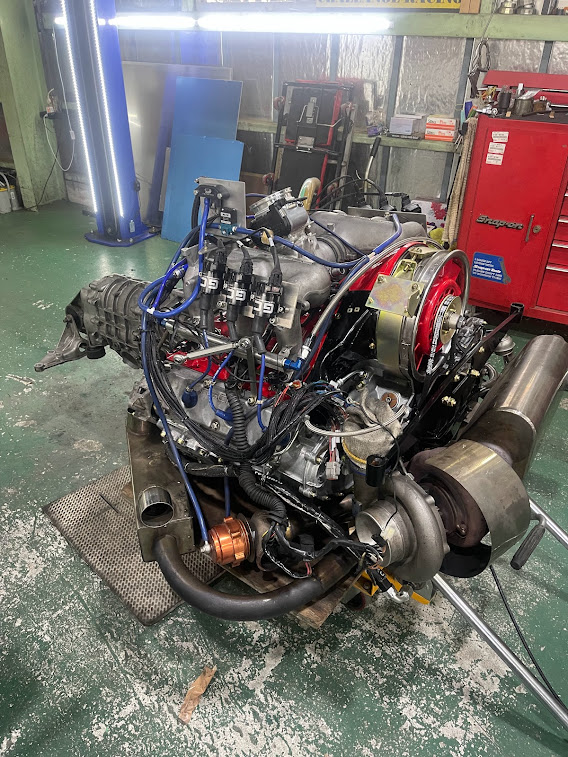
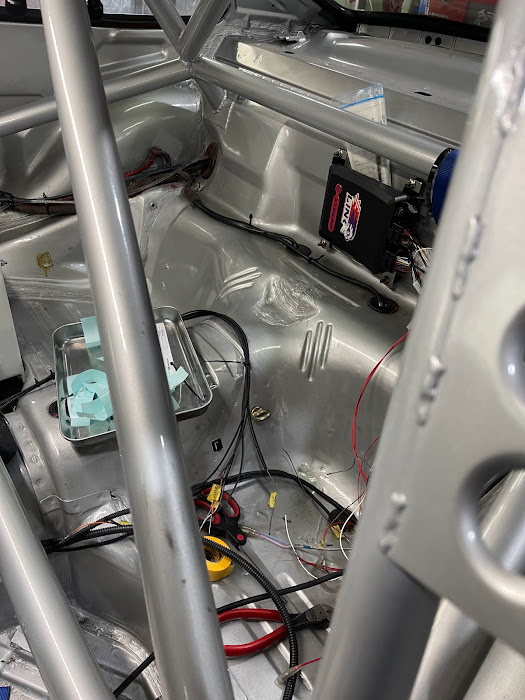
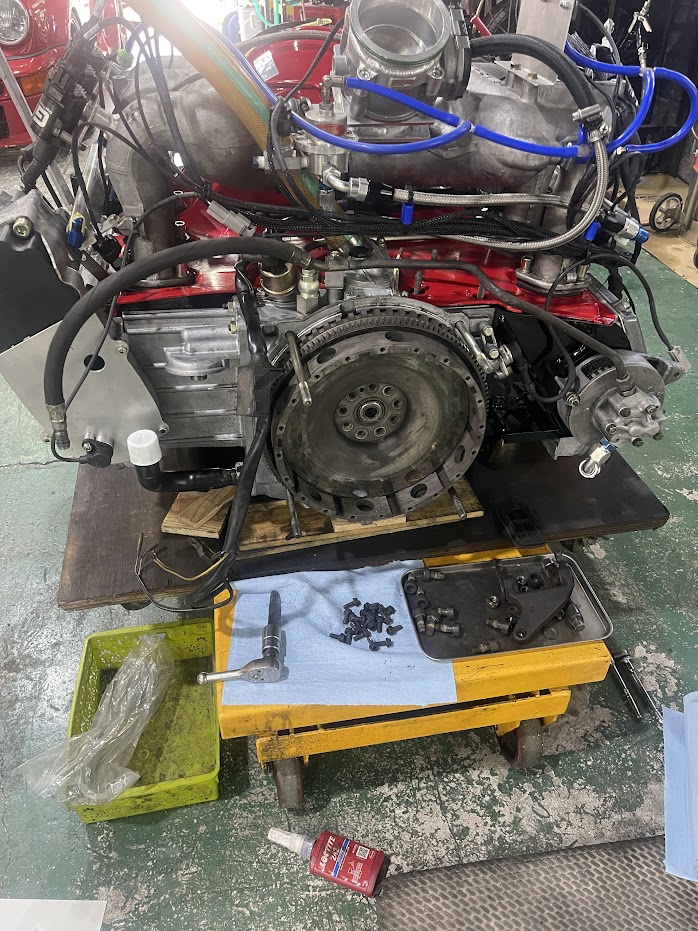
続いてエンジン本体の配線作業。
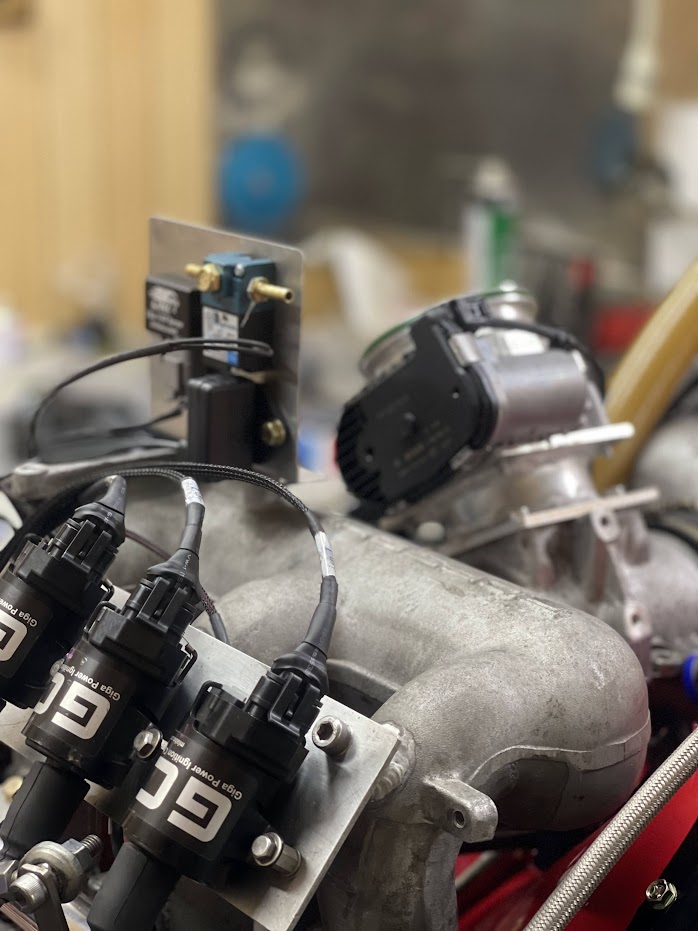
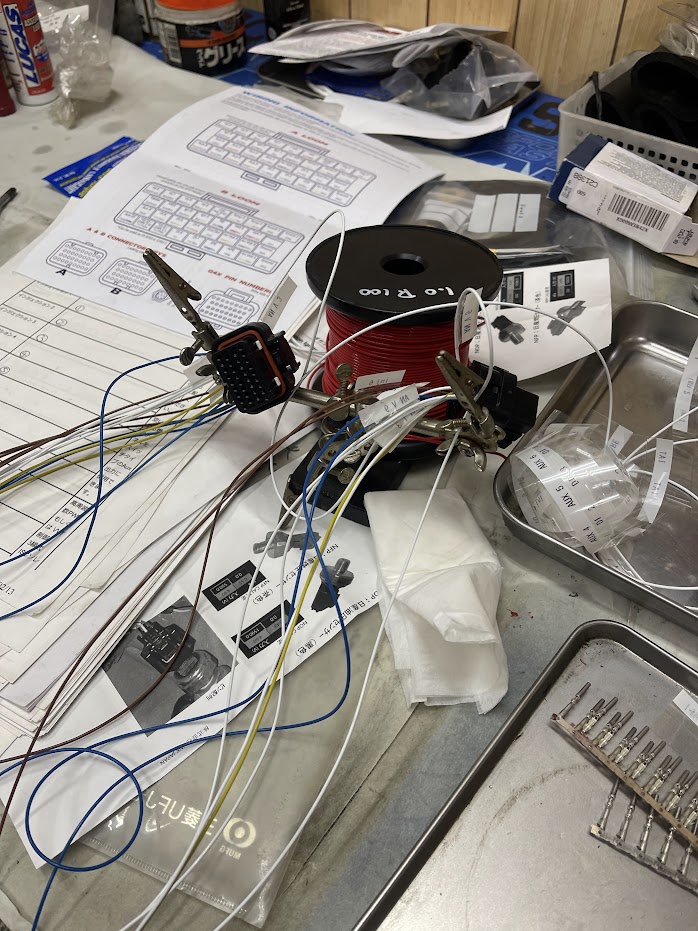
こちらも完成。
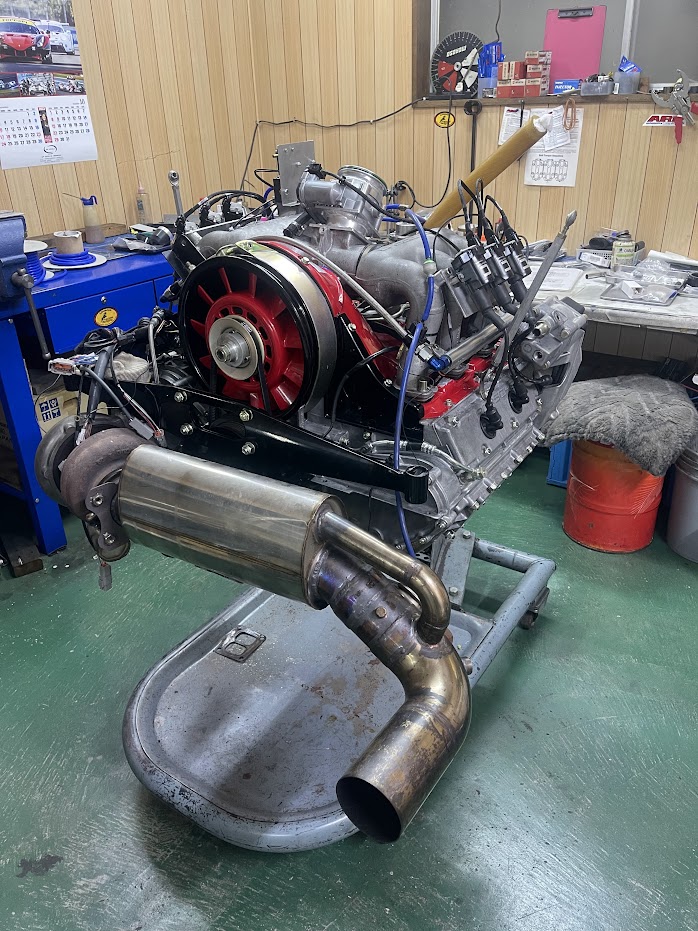
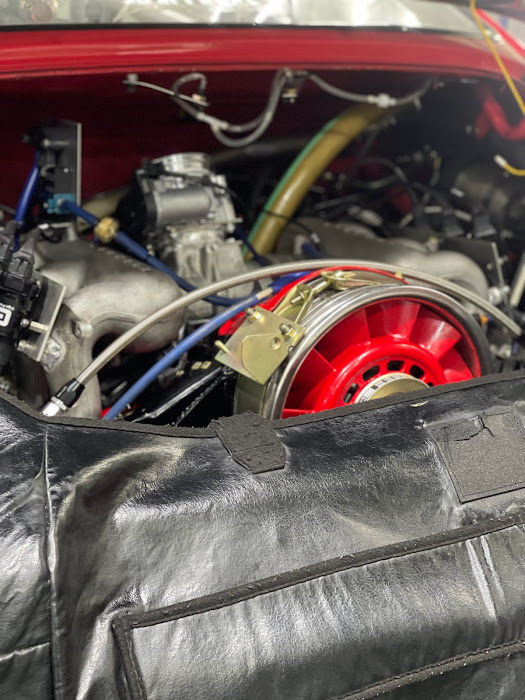
エンジン載せ準備。
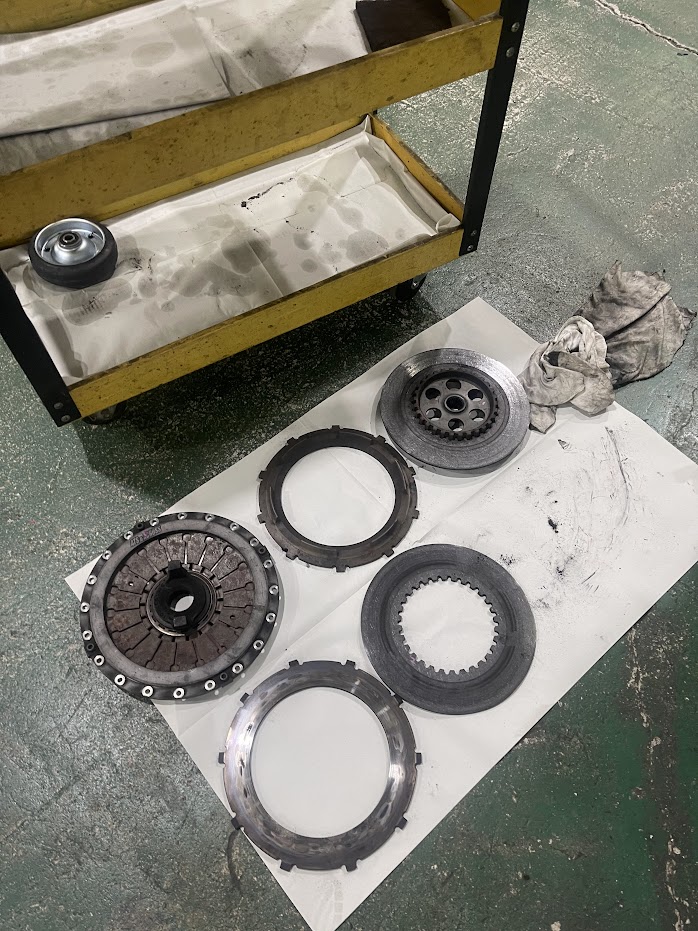
クラッチは、ATSのカーボンツイン。
こちらは、再使用です。
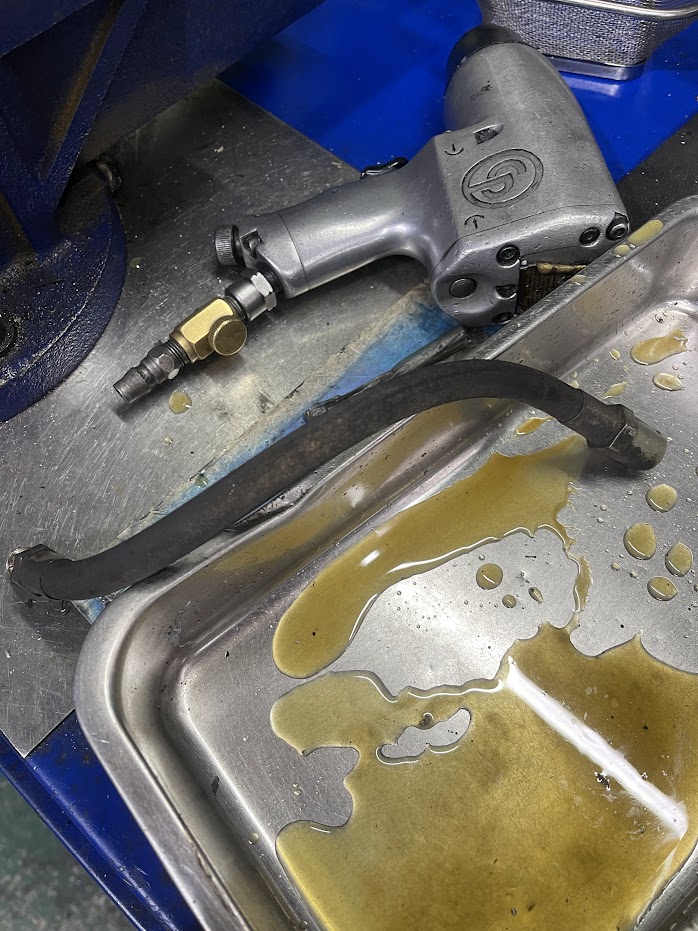
クラッチホースも劣化していたので交換。
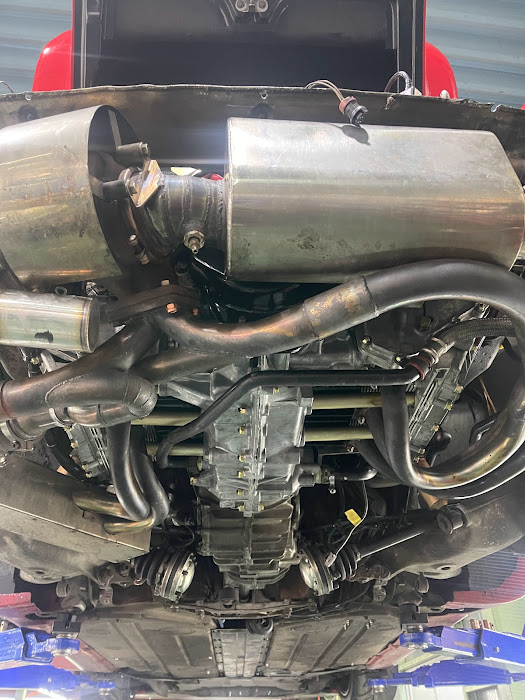
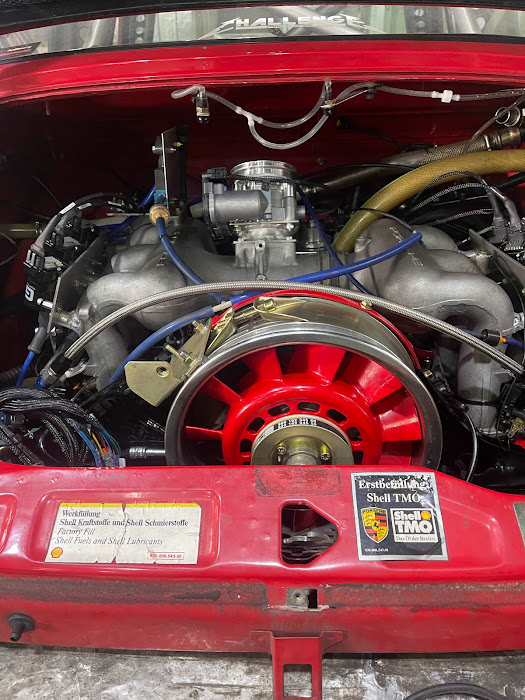
エンジン載せ 完了です。
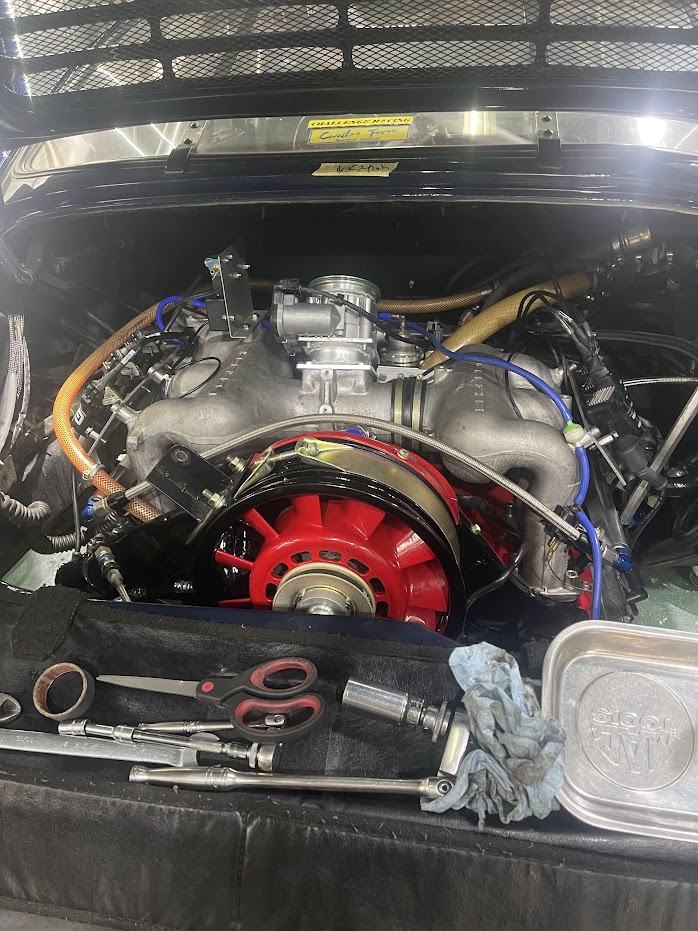
あとは、インタークーラ配管と 車両側 LINKハーナス などです。
もう少しでエンジンかかります。